Wednesday, May 14, 2014

Peter Pan


I only made two pieces for Peter's costume, his tunic and his hat.

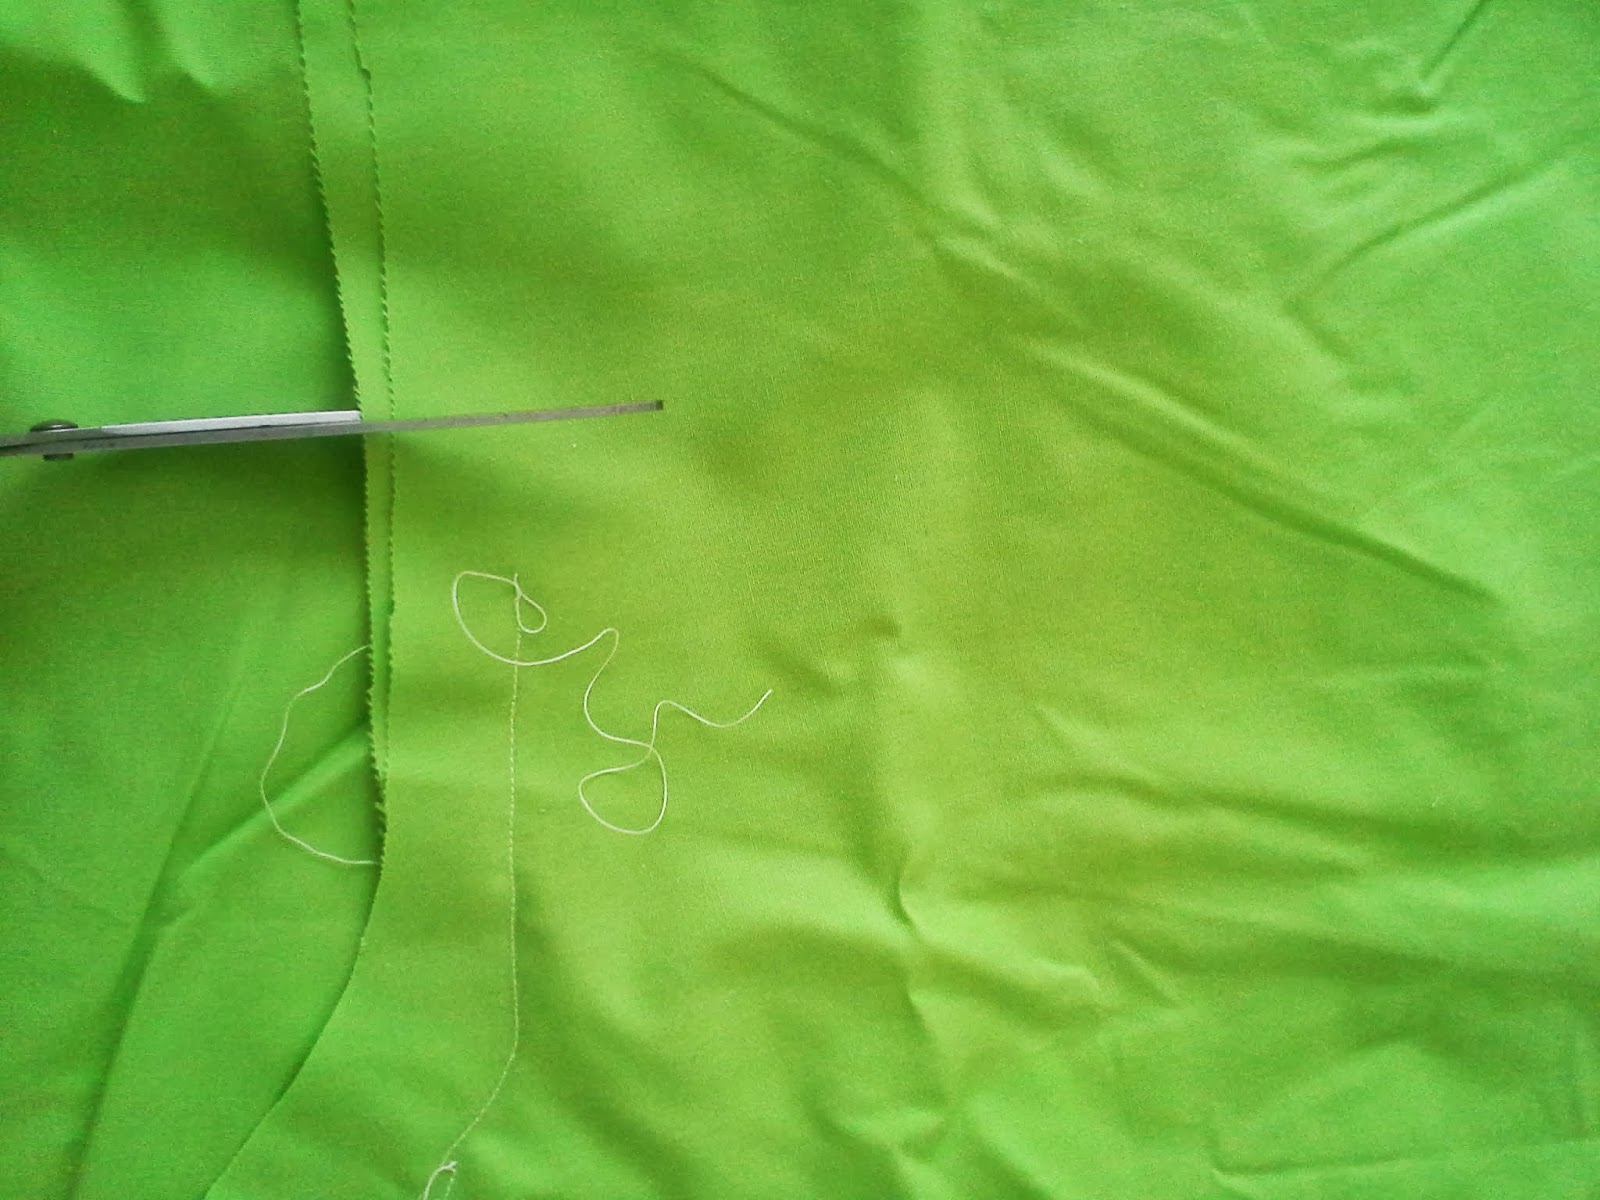
For Peter Pan's tunic I used a t-shirt as a template and just lengthened it, cut out two (front and back), and then sewed them together. A lime green sheet was the fabric I used. Then I cut out triangles from the hem and the sleeves. I also attempted to create the collar although I didn't do a good job so good luck with that.

The iconic Peter Pan hat. I used a thick forest green material from an old blanket. Measure the circumference of your head and divide by two. That is the length of the bottom edge of the shape you will create. Mark it on your doubled fabric.

 Then sketch out your shape. This is what I came up with.

 And the same for the brim (folded up portion).
 Don't forget to add seam allowance when you cut them out.
 Sew....
 Sew....

 If you can find a red feather go for it but I was out of money so I painted a black feather with acrylic paint.
 
And this is how it turned out. The feather is on the other side...

Stay Beautiful <3


Twilight Fairy: Wings

http://www.freewebs.com/faeriemuse/constructiontutorial.htm So, that's the link to the tutorial I used as the basis for my wings I tried to use her methods while not stealing her designs (I think I succeeded). Because it has taken me so long to write this post the construction pictures have been lost :(. Lesson learned. I did, however, manage to find this picture....

So basically I just sketched out the main veins or framework for the wings and then within a 4'x4' square on my tile floor I drew the wings with a wet erase marker. Over the course of a couple weeks I then shaped my 16 gauge wire to the sketch on the floor. I had three veins in the top wings and three in the lower wings. The three veins in the top right wing crossed down and became the lower left veins. Top left veins crossed down and became the lower right veins. When put together the two halves made an X. I then wrapped all of my wire in floral tape. I would suggest for those making wings with this method to wrap each wire individually and then wrap them together to add stability and hopefully the wires will be more inclined to stay together. Wrapping the wire took FOREVER. So start a show you've been meaning to watch and wrap away. I would also suggest that in your design stage you figure out a way for each wing segment (top right, top left, bottom right, bottom left) to be connected to each of the other wing segments. For example, the top right wing segment has three veins, take one vein and carry it over to the bottom right and carry another to the bottom left and the third to the top left. That will strengthen your wings greatly and insure that they stay together. I didn't do that and my wings are fairly flimsy.

There really isn't much to say about the cellophane and vinyl sandwiching step so just follow Faerie Muse's instructions but be very careful with the iron and make sure the layers really adhere to one another!
Here are pictures of my costume minus the wings. Enjoy!


Stay Beautiful <3

Friday, January 17, 2014

Twilight Fairy: Dress and Underskirt

Howdy folks! Sorry it's been a bit, I seem incapable of consistency. Unfortunately, the during pictures for my dress have been lost. I will try my best to describe the steps. I had a white cotton, spaghetti strap, eyelet dress that hit about knee length. I bought Rit powder dye in navy and dye fixative and simply followed the instructions provided in the packaging. There was a spot that took better than the rest and a spot that didn't take as well. In order to cover these spots I took some black and purple tulle and sort of cascaded it down from the left strap to the right hip hand tacking it to the dress. I also created some gathers (four to be exact) to shorten it in order to better show off the underskirt I made.

I had about 18 yards of plum colored tulle that I salvaged from my sister's wedding. I used about 6 yards to create the skirt. For the length that I wanted the tulle was wide enough to provide two layers from each 2 yard strip. I then sewed up the ends of each strip to create six circles of tulle. After layering them inside each other I hand gathered the top edge then sewed it onto a thick piece of black elastic the proper width to fit my waist comfortably. And voila!!

Stay Beautiful <3

Wednesday, October 2, 2013

Aladdin: Vest


 Grab a purple t-shirt and cut off the sleeves and the neck.

 Measure the wearer and cut off any excess at the bottom so it's the proper size. Cut straight down the center of the front of the shirt. I ended up taking off more of the sleeves and cutting a good 3-4 inches out of the middle. I also widened the neckline. I may end up cutting more length off of it but I'll wait to see how it lays with the pants.


Stay Beautiful <3

Twilight Fairy: Barefoot Sandals & Armband


In lieu of shoes I decided to make barefoot sandals for my TF costume. I looked at some barefoot sandals on Pinterest to see what the general idea was. I knew I wanted mine to wrap up my legs in a crisscross pattern and to come up fairly high. With that and my color scheme in mind I went to my drawers of yarn and grabbed some. I decided that I wanted to mix textures as well as colors. Yarn A. is a kind of silky purple. Yarn B. is a black soft eyelash. Yarn C. is a rich blue boucle. Yarn D. is a super soft gradient purple and pink. Yarn E. is just a standard black. Yarn F. is a deep purple. Yarn G. is a royal blue eyelash.


 A.      B.      C.     D.     E.      F.  G.
 I took 3 strands of yarn C. and 1 of each of the rest, knotted them together and then braided them. They were really long strands and took a while to braid. I made four of  them.

 Then I took two and glued two of the ends together with E6000. There's probably a better way to attach them but that's how I did it. Now this portion was just for wrapping up my legs not for my feet.

 
 For the "sandal" portion I took three strands of yarn E. and braided them together. I held one end at my ankle and wrapped the loose end around one toe and brought it to my ankle. Holding onto both points at my ankle I took the remaining braid down to wrap around another toe and then back to my ankle. This left four strands of the braid lying the length of my foot. Not exactly attractive. I weaved the two outside strands through the two in the middle creating a braid like texture and tied them off at the top. Making use of an old, broken bracelet or necklace I had I glued half of it to the top with E6000.
I then glued the separate pieces together. I had some old clip-on earrings that matched my vision perfectly so I glued one on top of the connection. one of the clip-on earrings had lost the center stone so I filled it in with hot glue and then painted it with two different nail polishes. The effect was very similar to the original stone.
 
Armband
 
 I decided to make a matching armband out of yarns C. D. and E. Using one strand of each I braided them together. One long braid. In order to tie it in a little better with the sandals I made a diamond shape out of clay, baked it and then painted it with the same nail polish. I then glued a thin chain around the edges and a shoe clip to the back with, you guessed it, E6000.
That's all folks!
 
Stay Beautiful <3


Tuesday, October 1, 2013

Tinkerbell: Shoes


Ok so the inspiration for my Tinkerbell costume is the classic Tinkerbell from the animated feature Peter Pan. If I had flats or the money to buy flats I would have followed the inspiration exactly, but I didn't so I had to improvise. The shoes I modeled mine after are the booties Tink wears in the new movies of which I cannot find a picture of...

So I took a pair of my boots and cut a good two inches away from the edge with my fabric doubled.

I then pinned the fabric together while laid over the boot forming it to the proper shape.

                                                          pin, pin, pin, pin, pin.....
After sewing that seam I placed it again over the shoe and perfected the form.


And again.


Cut off the excess at the top.

Don't forget the back and be careful not to make it too tight or you won't be able to get it on and off.


After I had achieved the proper fit (my second shoe cover was the right size) I used it as a template for the second.

The shoe cover is complete.....

Not quite. I can't forget the pom-poms!! There are tons of tutorials on how to make these so I'm not going to try to explain.

 
I didn't get pictures but I made a large rectangle and safety pinned it to the part that folds down. They kind of look like elf boots but with the full costume it'll be obvious I'm Tinkerbell. Also, I can reuse them for a cheesy elf costume :D. Look for the other installments coming soon!
 
Stay Beautiful <3


Halloween!!

 
Well, it's that time of year again and Halloween is just a month away! Naturally I'm making my costume so y'all get to enjoy the journey with me. This year I'm actually going to be two different characters for different parties, which means two costumes. Because I'm making two costumes for myself plus one for my little brother, the second of my costumes will be kept simple. I'm going to be a Twilight Fairy and Tinkerbell, my brother is going to be Aladdin. I think I'll probably do separate series posts for each costume just to keep everything straight... Let the insanity begin!

-Stay Beautiful <3